Squat Mobility
Mobility exercises for squatting deeper
Learn about squat mobility requirements, self assessment, and corrective exercises.
The importance of mobility
Mobility refers to the active range of motion a joint has. In the squat, there are a few mobility requirements that are needed to prevent compensational movements up the kinetic chain, to hit deeper ranges, and to improve overall comfort while squatting. Issues can arise when one joint compensates for the lack of mobility found in an adjacent joint. This can lead to non-optimized strength gains, slower exercise progression, and may increase the risk of injury.
Today’s blog post aims to reveal what to look for, ways to self-assess mobility requirements, and how to get hypomobile joints moving.
The squat that lived
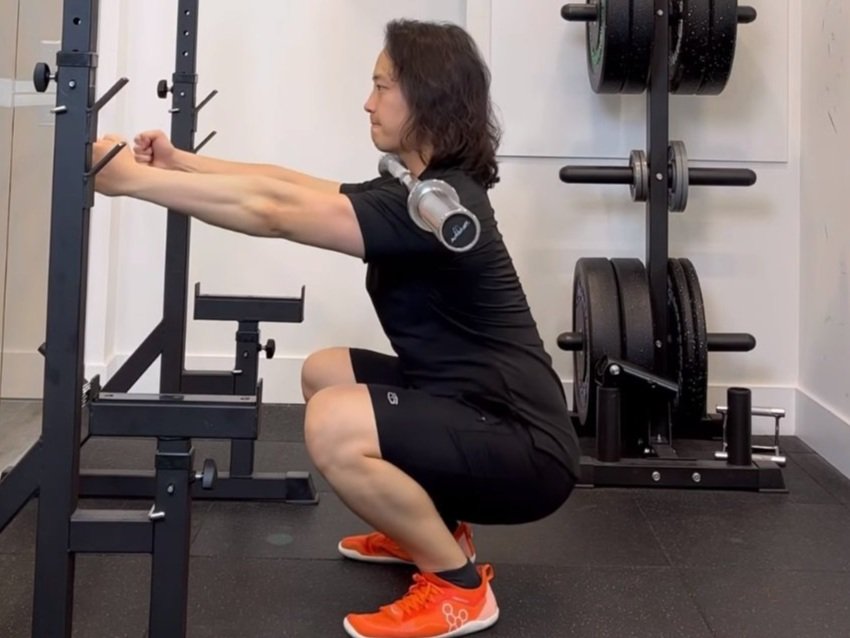
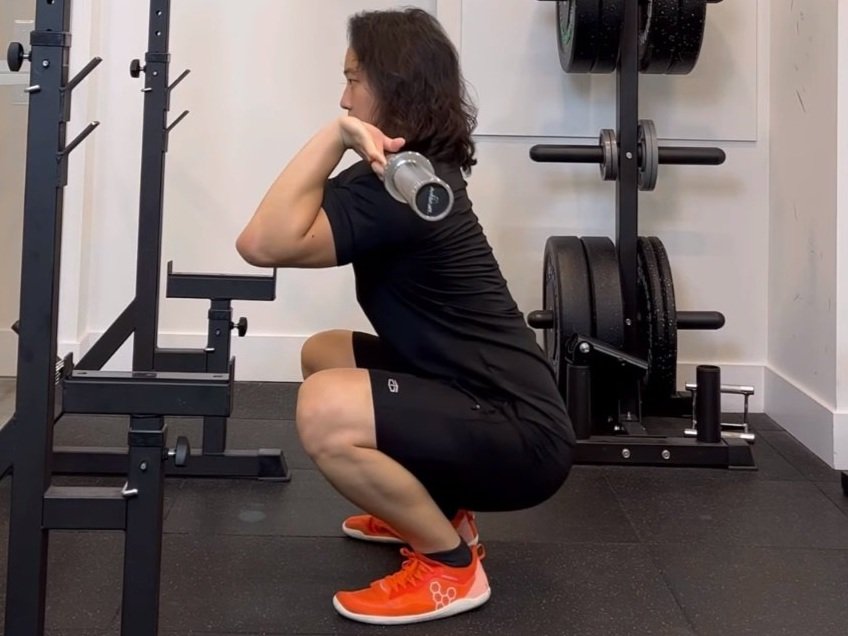
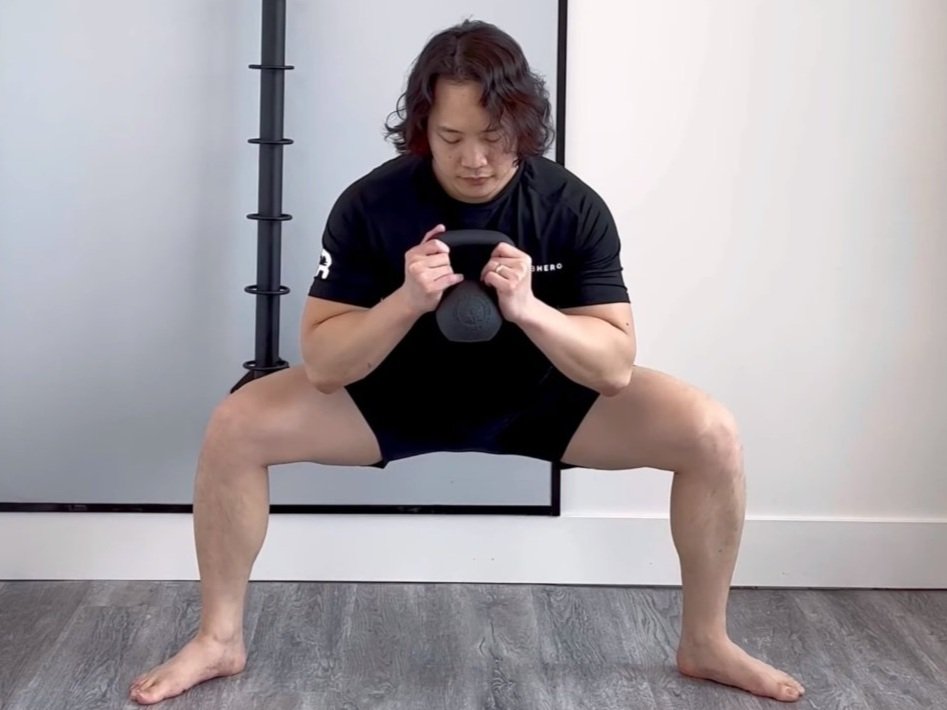
Generally speaking, we are looking for parallel lines formed between the shin and torso during a squat. With the thigh connecting the two lines, a Z-shape or lightning-bolt shape should be noticed (now do you get my Harry Potter reference?). There are exceptions to this rule depending on the chosen lifting technique (high bar squat vs low bar squat), femur length, torso length, etc. which we can dig deeper into another time, but for scope of today’s blog we’ll be talking about general requirements.

Lightning Bolt/ Z-pattern in a squat. Parallel lines are formed between the lines drawn at the torso (shoulder to hip) and shin (knee to ankle), and are connected by the thigh (hip to knee).
A few mobility prerequisites are needed in order to achieve the aforementioned squat. In the lower body you’ll need adequate ankle dorsiflexion, tibial internal rotation, and hip internal rotation.
Through a process of elimination, you can find out specifically which areas need to be addressed. This will help to save time and effort by not wasting your energy on exercises that doesn’t address a specific deficit.
You need 20 degrees of ankle dorsiflexion for squats
Ankle dorsiflexion is when the top of your foot gets closer to your shin bone (toes up position). For a squat, at least 20 degrees of ankle dorsiflexion is required to allow the knees to move over and past your toes. Without adequate ankle dorsiflexion, compensations can occur leading to hip impingement, butt wink or excessive lumbar flexion. This happens because decreased ankle dorsiflexion requires increased hip flexion to accommodate the lack of movement.
An easy self assessment test is the 10 cm Knee Bend Test:

1) Place your toes 10 cm away from the wall.

2) See if you can tap the wall with your knee effortlessly without lifting the heel off of the ground. The arches of the feet must also be maintained (not over-pronating).
Limitations in ankle dorsiflexion are often due to 1 of 2 reasons:
Tight calves
Tibiotalar joint hypomobility
The calves, which are plantar flexors of the ankle (the opposite of dorsiflexion), can limit ankle dorsiflexion when they’re tight. You can stretch out the calf muscles and re-test the 10 cm Knee Bend Test to see if your ankle dorsiflexion improves in quality (decreased effort levels to reach full range) or quantity (getting closer to the wall with the knee).
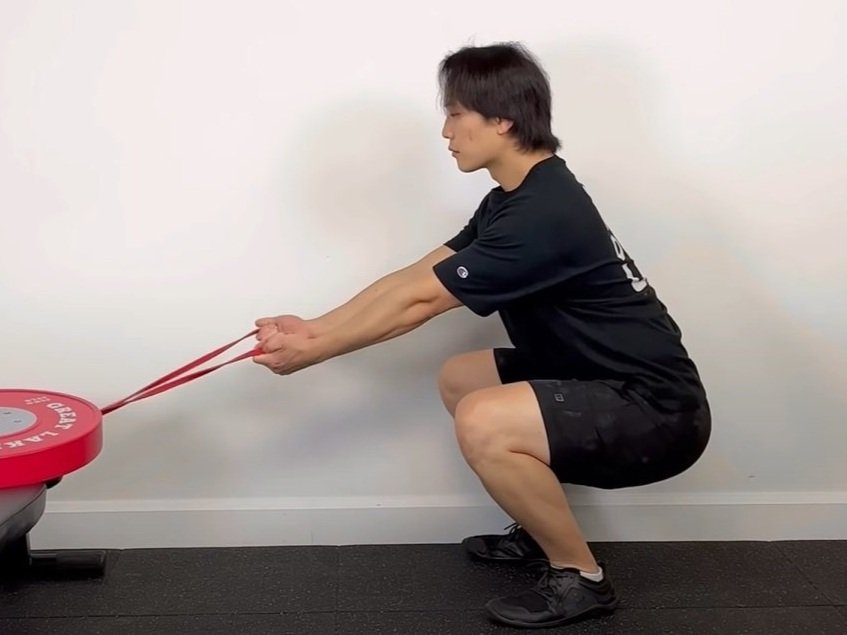
If it does NOT make a difference, you may have a tibiotalar joint limitation. Limitations in this joint can occur for a few different reasons including altered arthokinematics or anatomical changes as seen in those with osteoarthritis. If there are no anatomical limitations to your ankle dorsiflexion, an exercise that may help to improve arthrokinematics of the tibiotalar joint is the Banded Ankle Dorsiflexion exercise:
You can re-test the 10 cm Knee Bend Test to evaluate for improvements. If improvements are observed then this exercise was an effective intervention and can be included into your pre-squat warm up routine.
If improvements following a calf stretch AND banded ankle dorsiflexion have been noticed, then inclusion of BOTH exercises may be a good idea. You can recheck your squat to see if your movement has improved, and if it does then we have just objectively discovered one limiting factor.
If at this point your squat mobility has been completely corrected, then you can stop reading here. If not, we move onto the next step - assessing tibial internal rotation.
You need 10-15 degrees of tibial internal rotation for squats.
During a squat, the tibia internally rotates and laterally tilts as you bend the knee. This movement is required to allow appropriate tracking of your knee over your foot. When limited, it will cause your knee to travel in the path of least resistance - tibial external rotation. This can lead to contralateral hip shift (shifting the hips to the opposite side), and issues such as knee pain, hip impingement, and sacroiliac joint dysfunction.
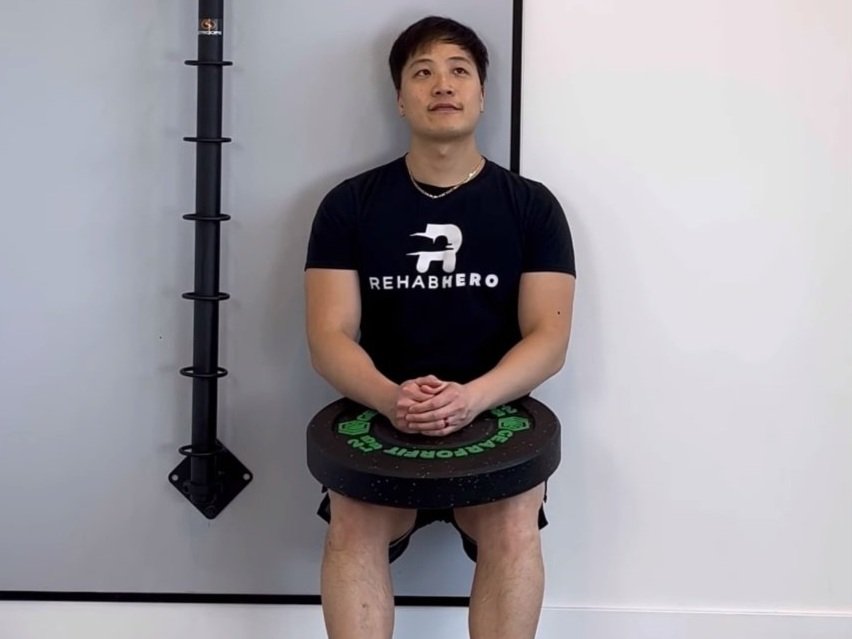
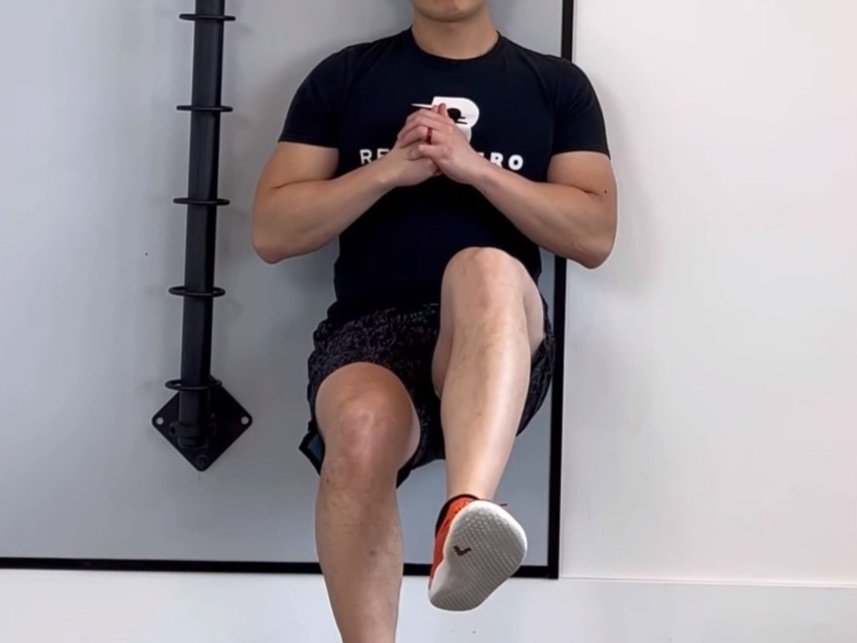
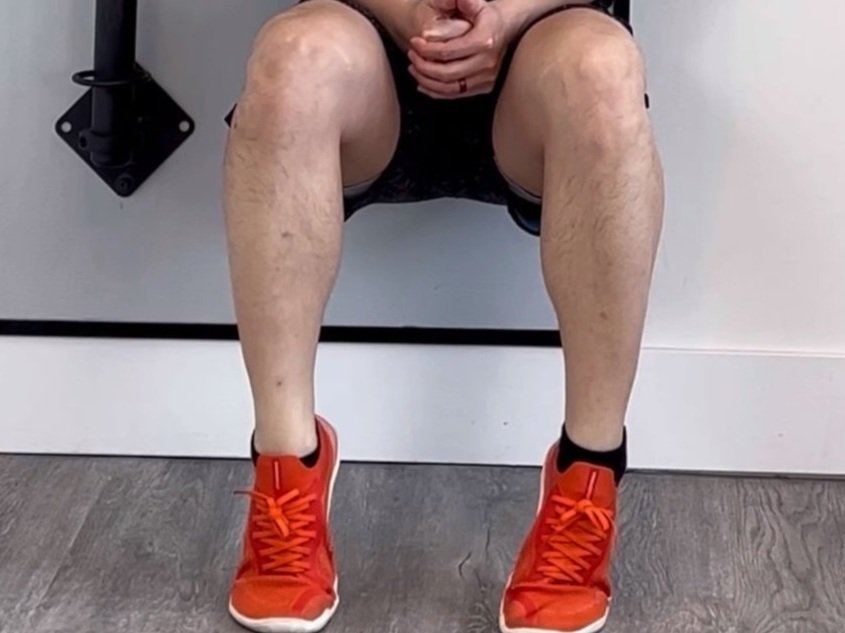
You can do the Tibial Internal Rotation self-assessment to see if you have limitations in this range of motion:

1) Place a yoga block or foam roller between the knees to stabilize the thighs

2) Rotate your foot internally while keeping the ball of the big toe on the floor. Be sure not to over-supinate the foot.
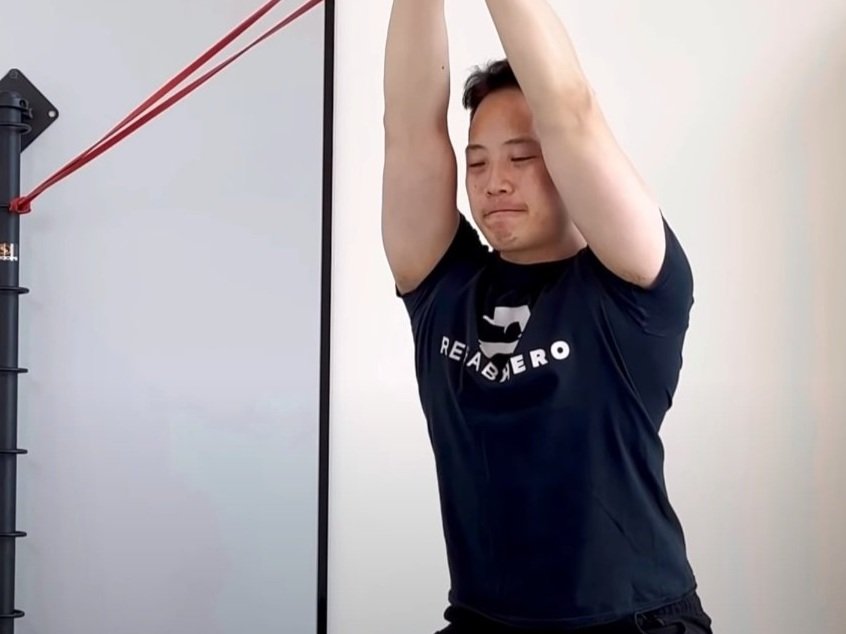
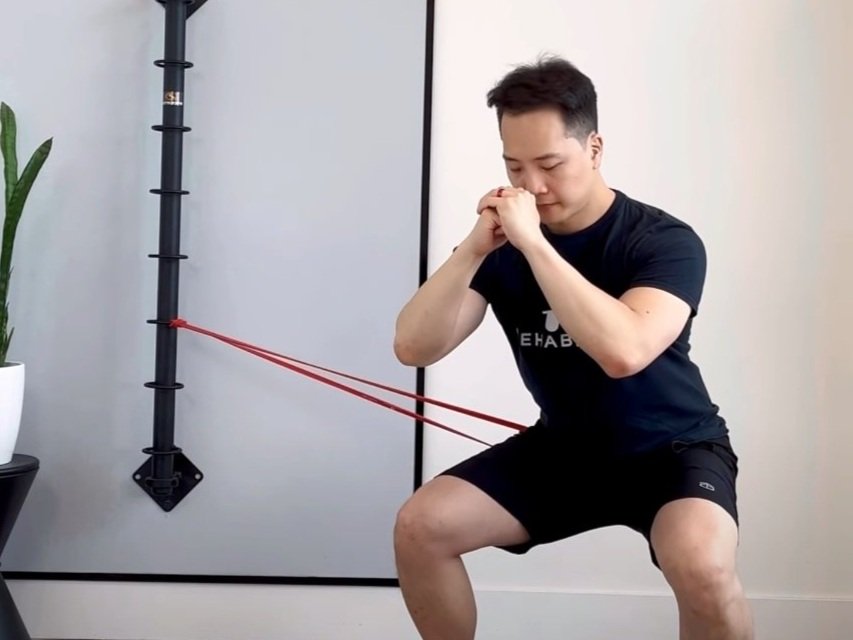
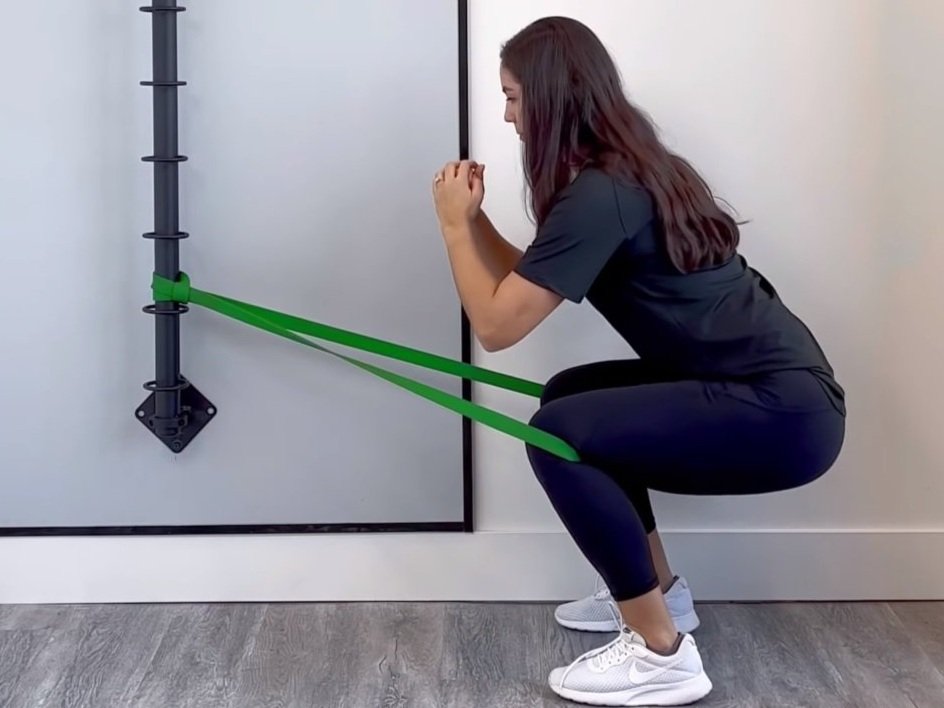
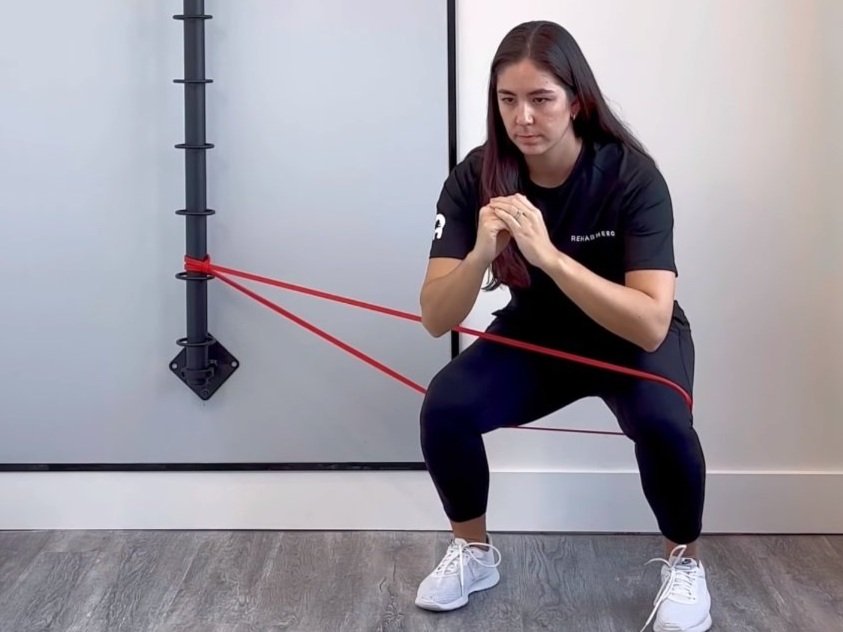
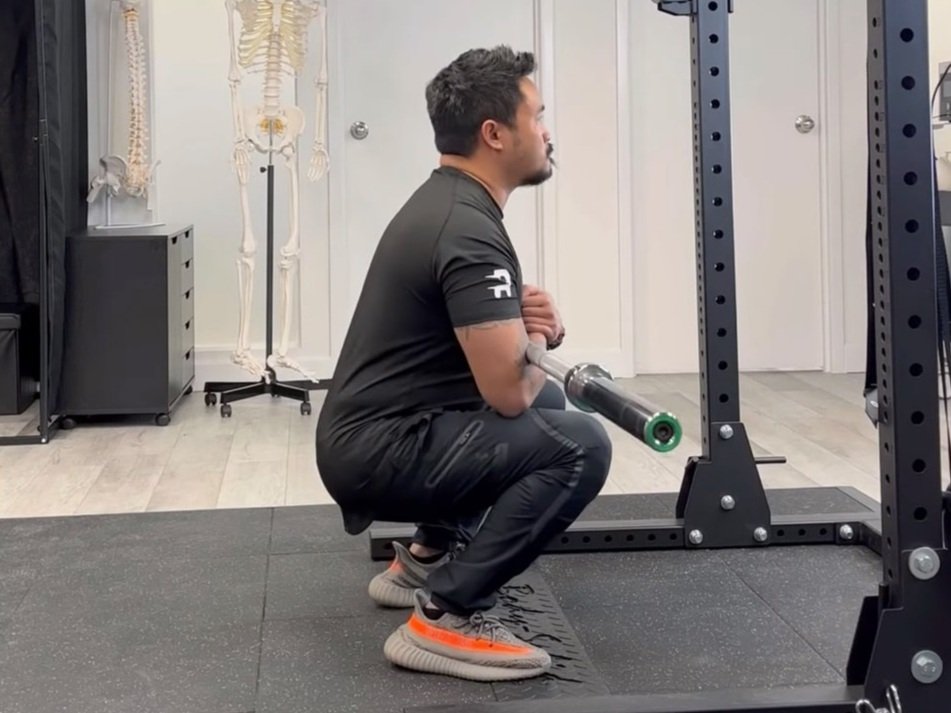
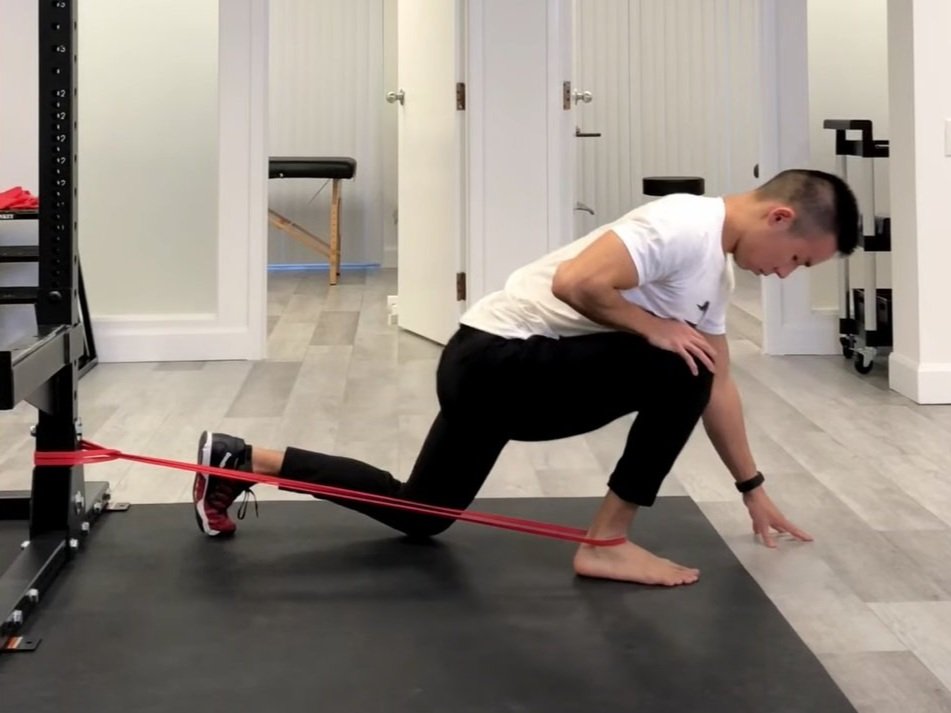
If you notice that you have less than 10-15 degrees of tibial internal rotation, or notice limitations compared to your other leg, then a mobility exercise may help to open up your range of motion. An exercise that you can do, that requires two exercise bands, is the Counter Rotation Split Squat:

In this exercise it is important to note that each band is providing a different type of external cue. The band placed under the big toe is used to cue the contraction of the medial longitudinal arch. This will allow us to isolate the movement to above the ankle instead of the foot. In this regard, the band placed under the ball of the big toe is used for resistance.
The band looped around the knee has a different function. Here we use the band to assist us in moving the tibial into a lateral tilt position. This will help the tibia to internally rotate as we bend the knee. Since the band is assisting us, do not resist it’s lateral pull. Instead, allow it to pull your knee outward as you complete this exercise.
You need 35-45 degrees of hip internal rotation to squat deep.
Many believe that only hip external rotation is required for a squat… but that’s only partially true. The amount of external or internal rotation required in a squat will depend on the orientation of our feet. When we complete a body weight squat we generally want our feet to be facing forwards with a leeway of about 10-15 degrees of external rotation in the feet. This will require us to have sufficient hip internal rotation during the squat in order to maintain proper kinematics. If you lack hip internal rotation, you will squat down in the path of least resistance - which is hip external rotation. Doing so can lead to hip hiking, hip shift, and lumbar / pelvic rotation which can expose you to injury.
Generally squatting with the feet facing forwards is completed for movement screening purposes whereas squatting with the hips and feet externally rotated is completed for sport performance purposes. At higher levels of performance, whether or not you will be squatting with your feet facing forwards or outwards will ultimately depend on your anatomy.

In a body weight squat, a forward facing foot stance of 5-15 degrees will require hip internal rotation
Modifying the squat to promote hip external rotation is generally recommended for athletic performance. This position will allow you to recruit your hip adductors as hip extensors which will allow for greater force generation. This will also allow you to squat deeper without requiring as much hip internal rotation mobility and contribute to a healthier looking squat.
That said, limitations in hip internal rotation can lead to hip impingement-like symptoms, side shifts, and pelvic obliquity during a squat even when your feet and hips are externally rotated. You can check your mobility by doing the Hip Internal Rotation Self Test:
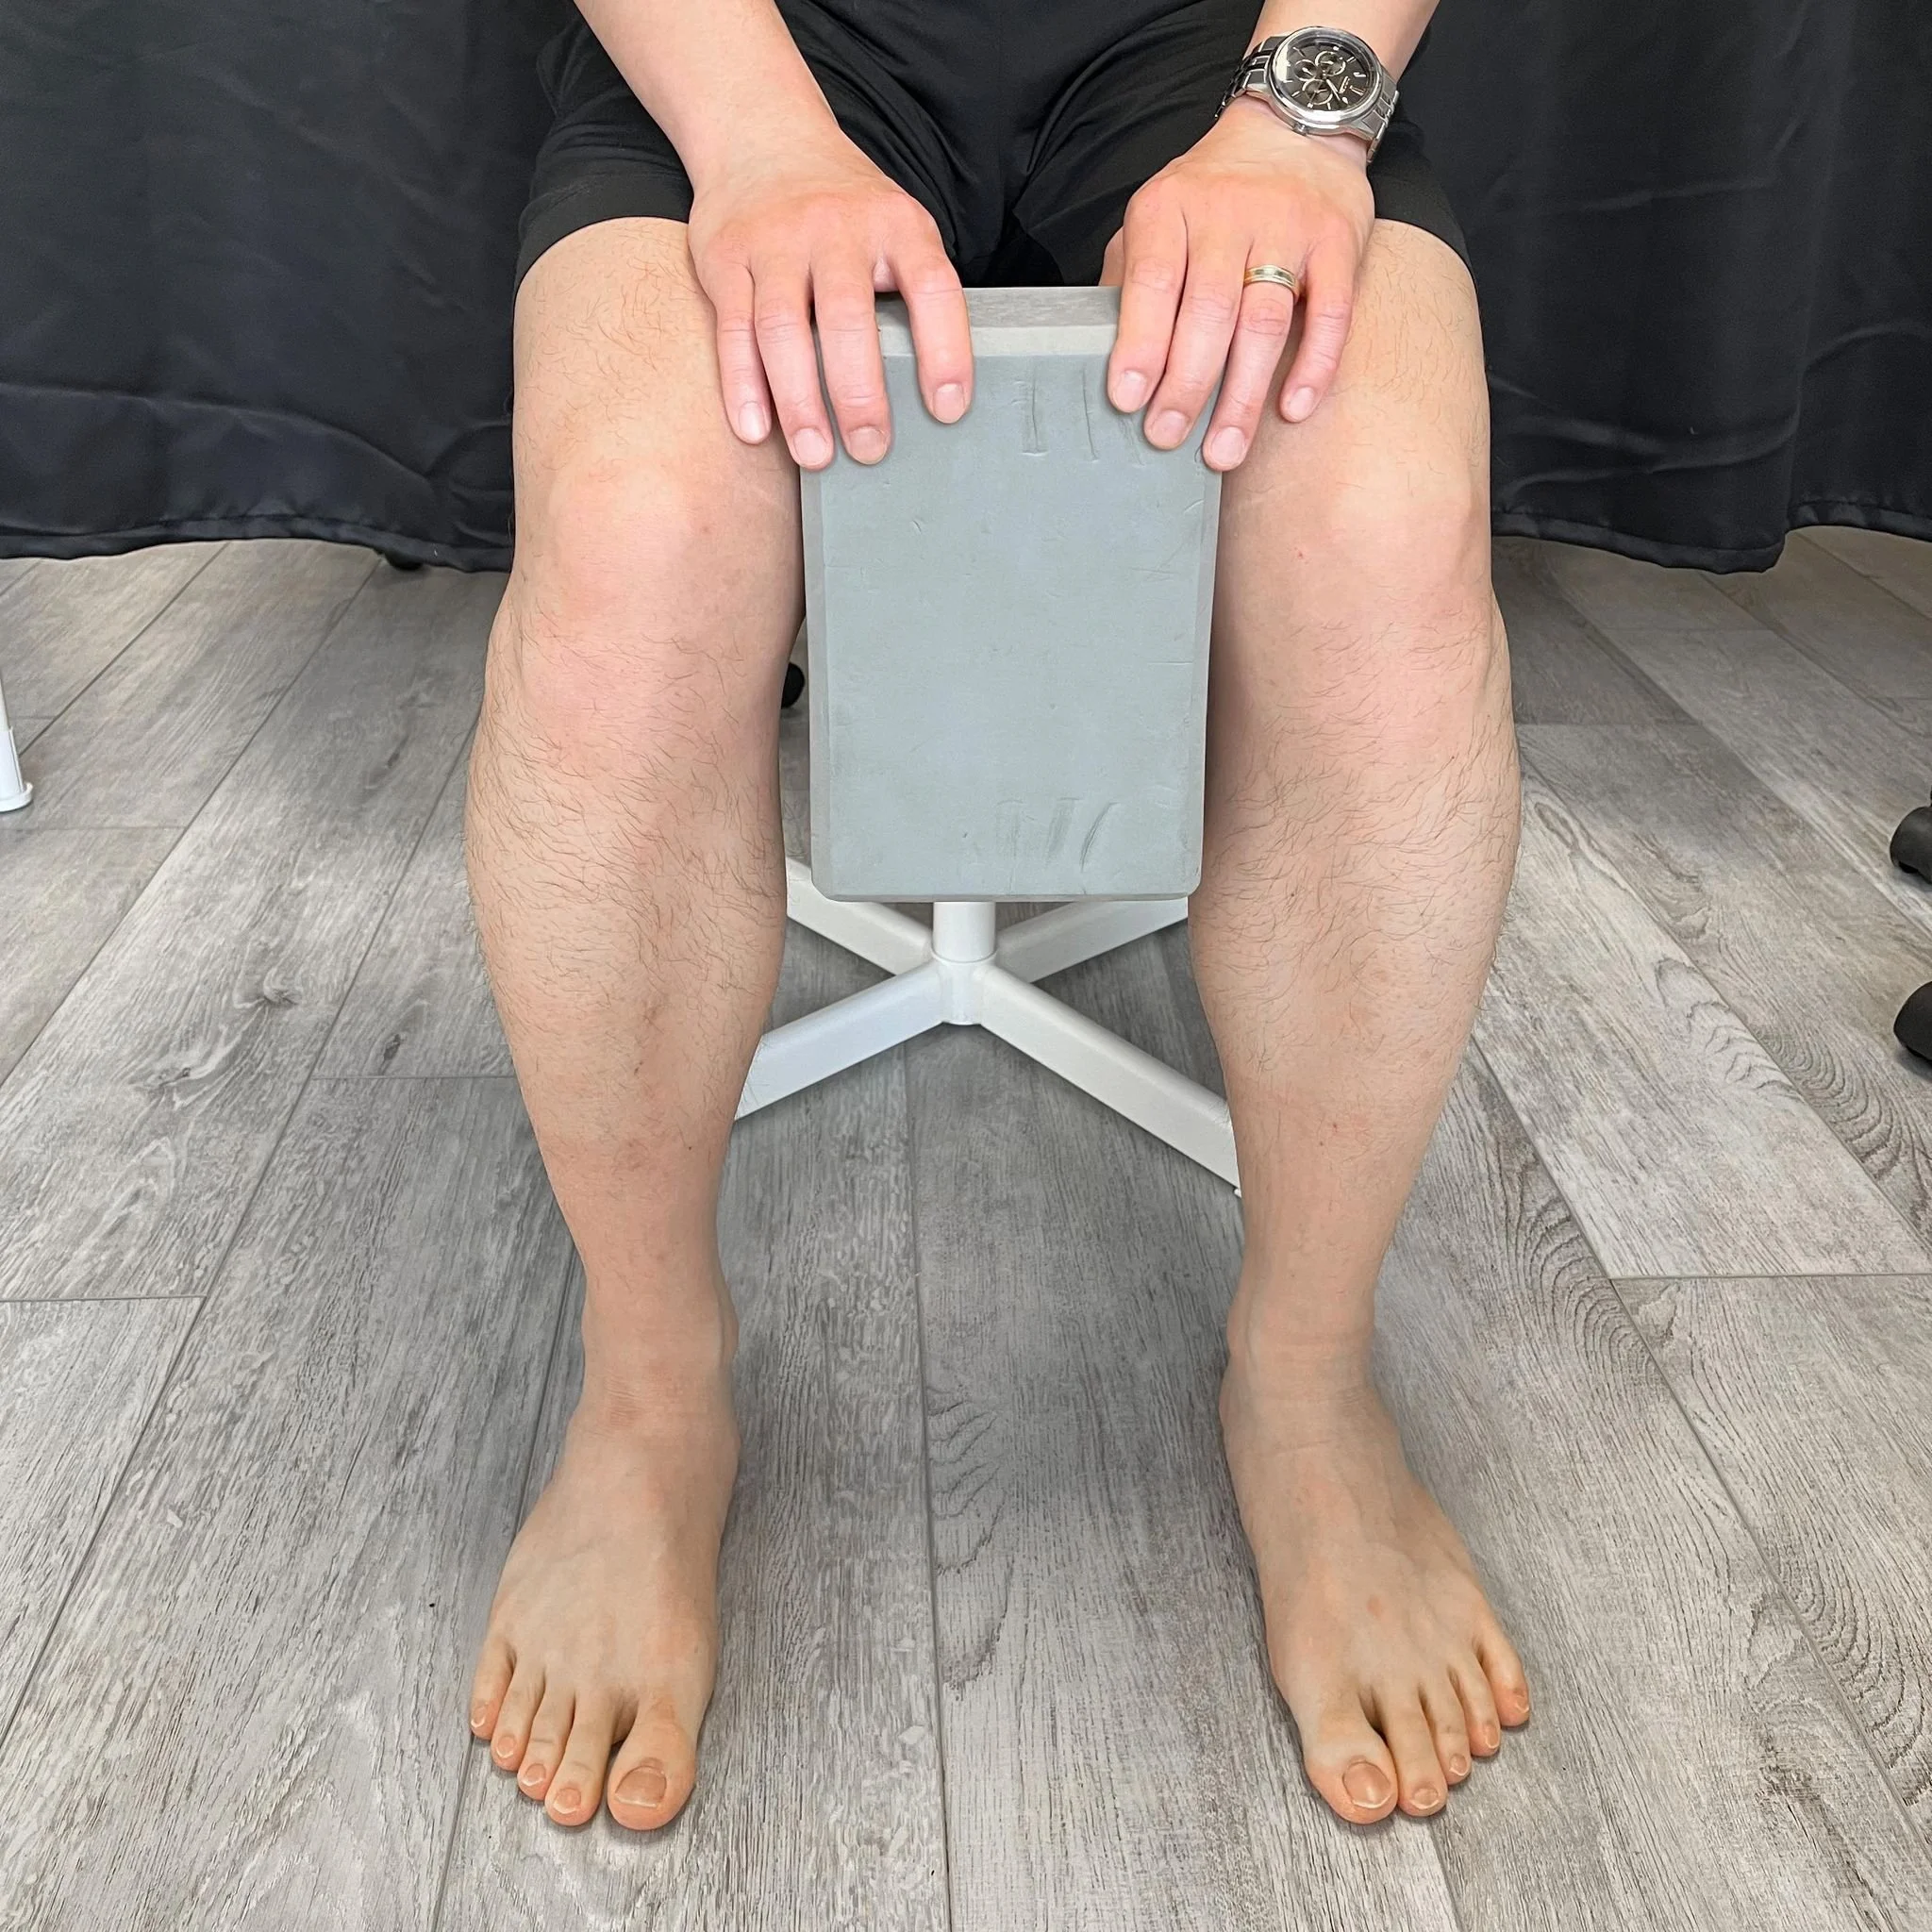
1) Place a yoga block or foam roller between the knees to stabilize the thighs

2) Rotate your hip internally while stabilizing the knees with the yoga block.
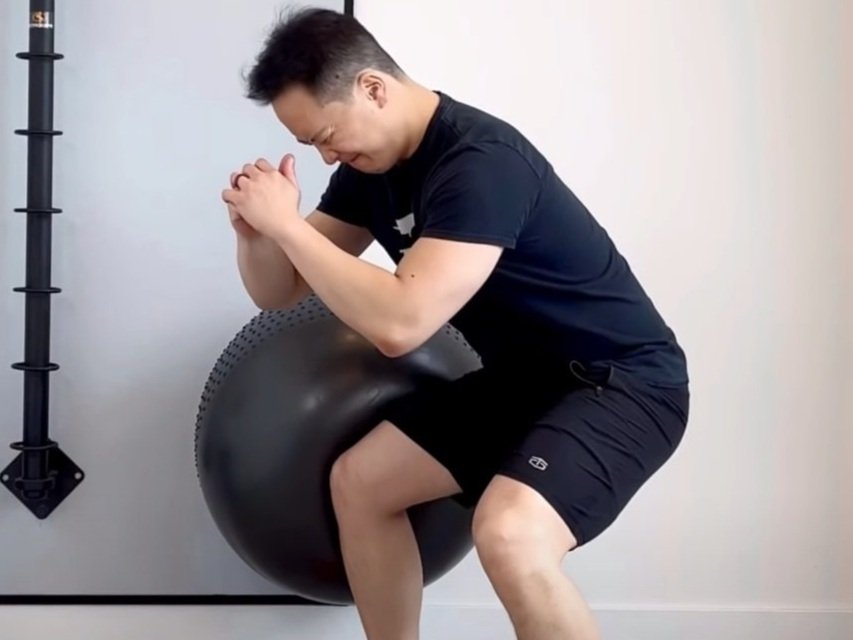
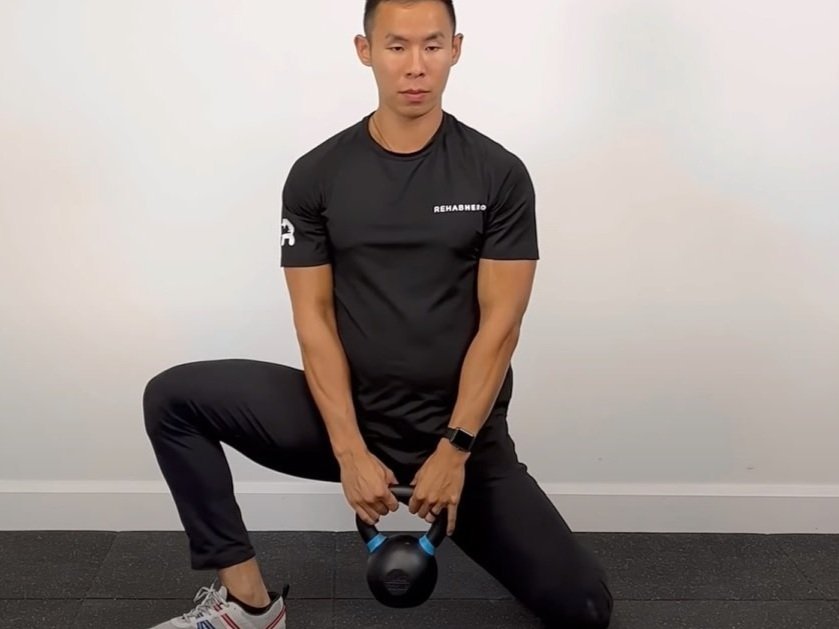
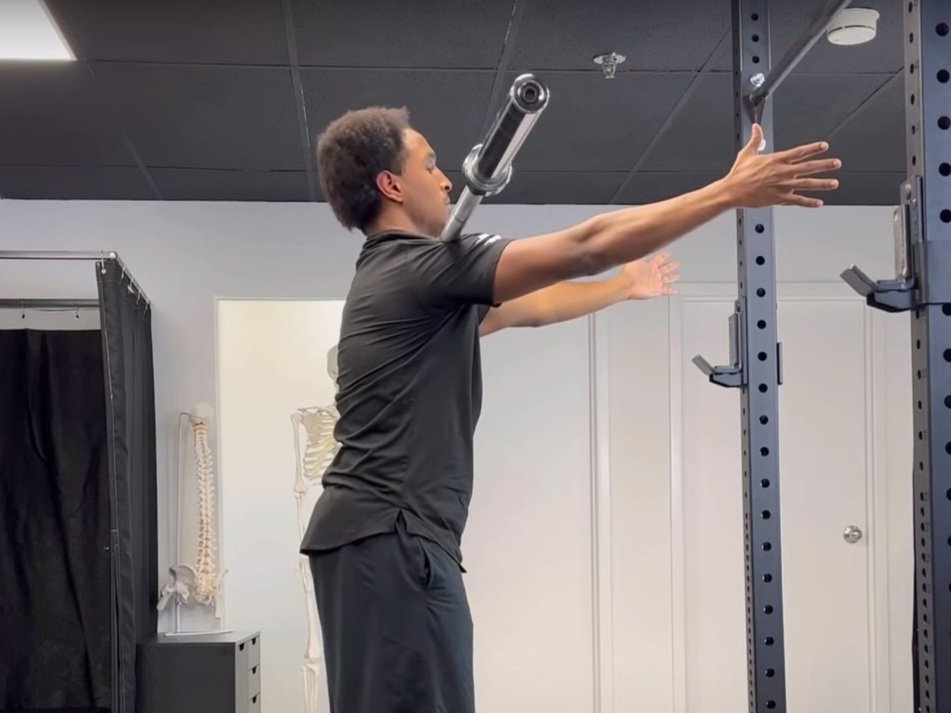
If you notice that you have less than 35 degrees of hip internal rotation, you may have a limitation in your flexibility (passive range of motion) or your mobility (active range of motion). An easy to do stretch for hip internal rotation is the Dowel 90/90:
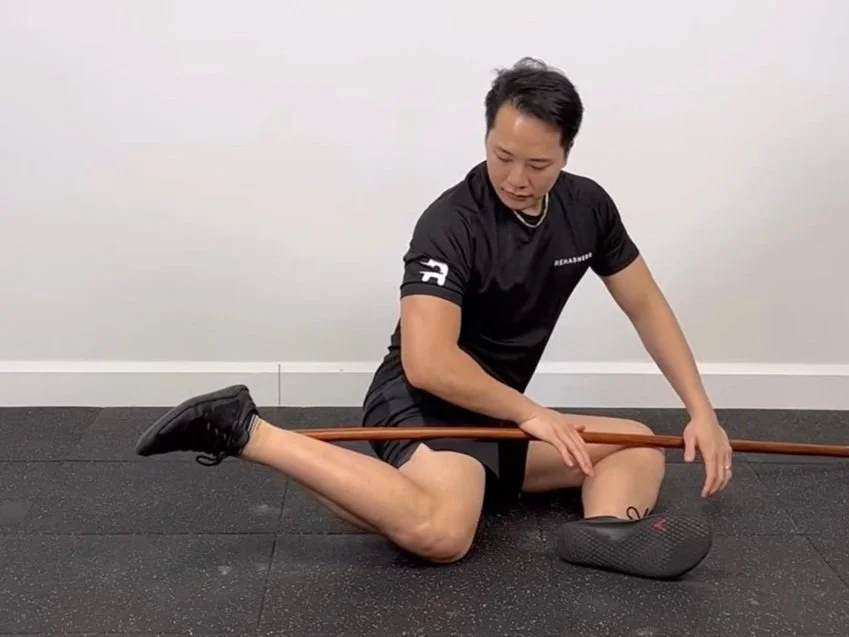
You can perform 3-5 repetitions of 20-30 second holds of the Dowel 90/90 and re-test the Hip Internal Rotation Self-Assessment. If improvements are noticed, then you can proceed to recheck your squat. If the squat improves or feels easier to perform then this exercise would be a good addition to your squat warm up routine.
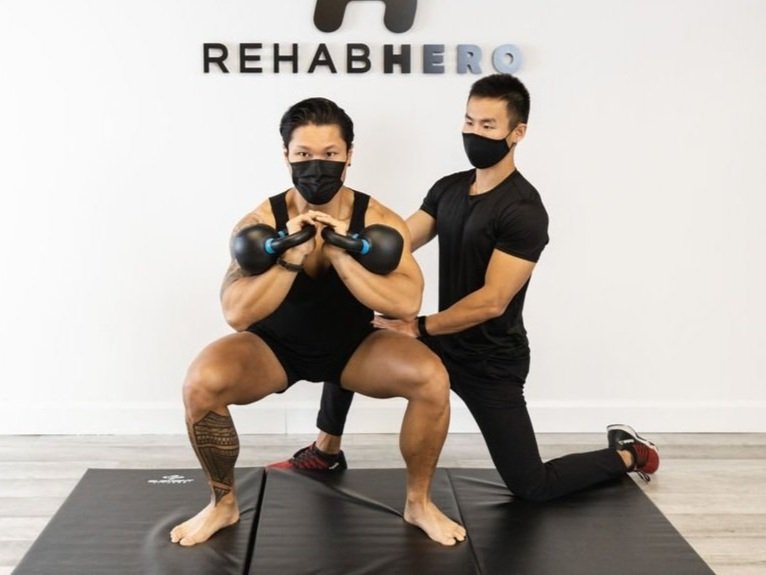
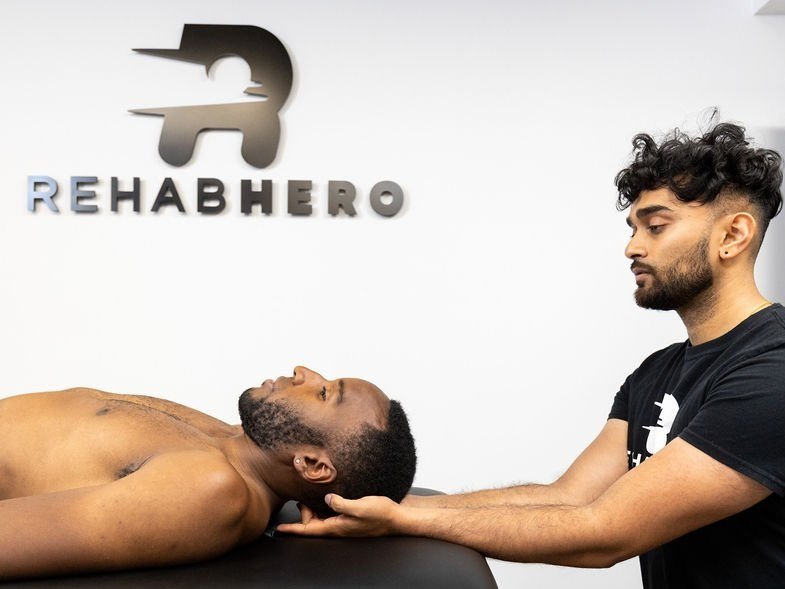
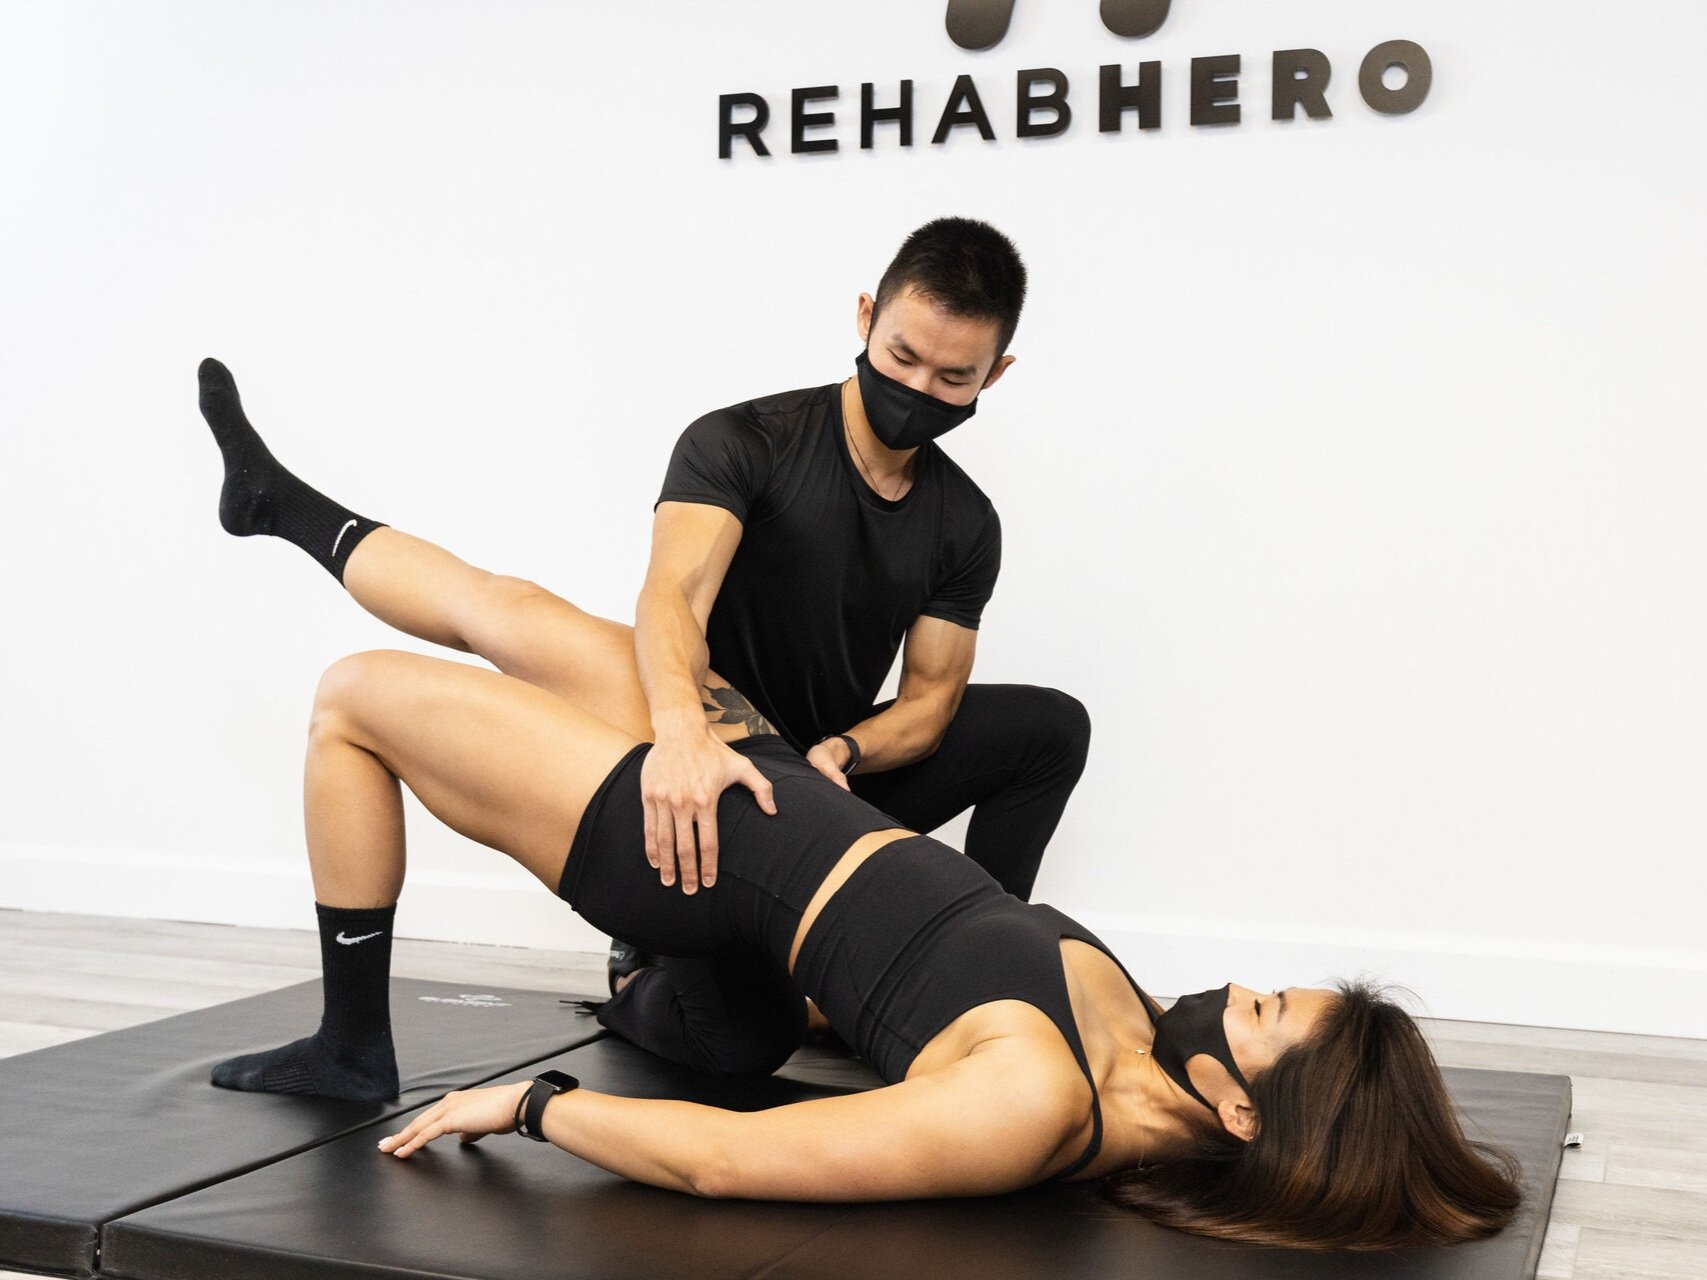
Who can assess my squat?
You can get your squat assessed by any qualified strength coach, trainer, physiotherapist, or chiropractor. If the aforementioned exercises did not improve your squat mobility then issues in motor control, end range strength, or mobility restrictions in the upper body may exist. To receive a comprehensive squat assessment you can book in with a Rehab Hero qualified clinician using the button below:

Written by:
Dr. David Song, Chiropractor, Rehab Coach
Recent Articles


Exercise Videos